With the staves cut I laid two strips of tape sticky side up on my bench and pressed the staves down on the tape butted tightly together.
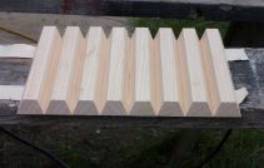
Photo 7: Staves laid on tape
I then rolled up the staves to close the circle to check the fit. Thanks to the accuracy of the PolyGauge angles the fit was fine the first try.
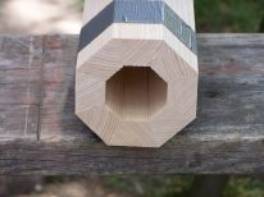
Photo 8: Test fit
I then unrolled the bundle and applied glue between the staves. I used polyurethane glue on these ones but any woodworking glue should work fine.
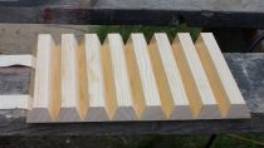
Photo 9: Staves glued
I then rolled them back up and used hose clamps to clamp the assembly while the glue dried.
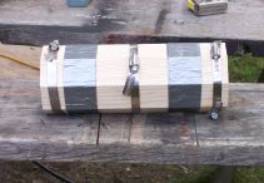
Photo 10: Staves clamped
After drying overnight it was time to mount the assembly on the lathe. I mounted a piece of scrap between centres and turned a tapered cylinder whose small end would fit inside the assembly to use for the drive end, and used the large cone centre mounted on my OneWay tail centre for the other end.

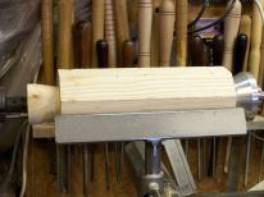
Photo 11: Drive end cone Photo 12: Mounting the blank